HOW TO INSTALL ECD WRAPS
What You`ll Need
- Heated Garage 70 degrees or warmer
- Felt edge squeegee (Optional)
- 70% iso rubbing alcohol or soap & water
- Hobby Knife (Optional)
- Hair dryer or heat gun (Optional)
- Time and Patience
What You`ll Need
- Heated Garage 70 degrees or warmer
- Felt Edge squeegee (Optional)
- 70% iso rubbing alcohol or soap & water
- Hobby Knife (Optional)
- Hair dryer or heat gun (Optional)
- Time and Patience
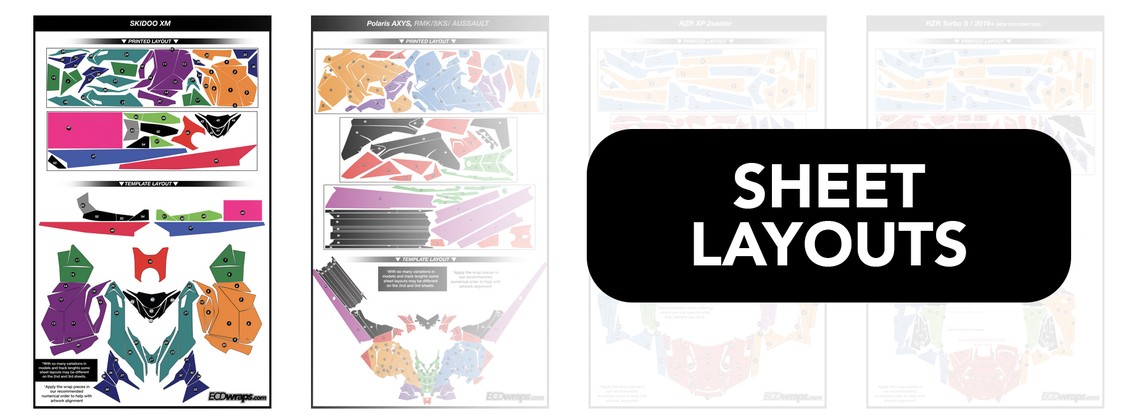
-Apply the wrap pieces in our recommended numerical order to help with artwork alignment.
-With so many variations in models and track lengths some sheet layouts may be different on the 2nd and 3rd sheets.
Find your model sheet layout here (CLICK)
-If you don`t see the right sheet layout for your print, that would be because you have a custom option.
In that case use the closest option and if you struggle with placing any of the pieces you can email us and we will gladly help you the best we can info@ecdcustoms.com
-All our wraps are contour cut to fit your specific machine and are designed for a do it yourself application.
-They are made of the best 16-mil thick powersports vinyl with AIR-Flow Technology which will allow for a easier install without bubbles.
-This means no LIQUIDS are required for install. Dry install recommended.
-If you need help or unsure about doing the install, please seek a friend or someone with vinyl experience.
1. Before you start the wrap, roll your graphic sheets and lay them flat in a safe clean area to let sit for at least 1-2 hours
2. Give your machine a good wash with soap/water to remove any grime/dust/dirt/mud ect.
3. We recommend to remove any existing stock decals, direct sun or heat gun will help.
4. Remove any remaining adhesive, we recommend to use Rapid Remover (LINK) or
Goo-gone (LINK). Canada (LINK)
5. Do a final clean with 70% rubbing alcohol. That can be found at your local Wal-mart or CVS. (LINK)
** Do not use any oil based products like WD40 & Pledge to clean your machine.
These will leave a oily finish behind and will effect the adhesion of the wrap.
1. Clean the Vehicle and prep ( See how to steps above )
2. Print out or save our Install layout of your print sheet to help locate all the pieces ( See above section )
3. For cleanest results, make sure to have clean hands throughout the whole install.
4. We recommend to follow our numerical order shown on the sheet, or start wit the larger pieces.
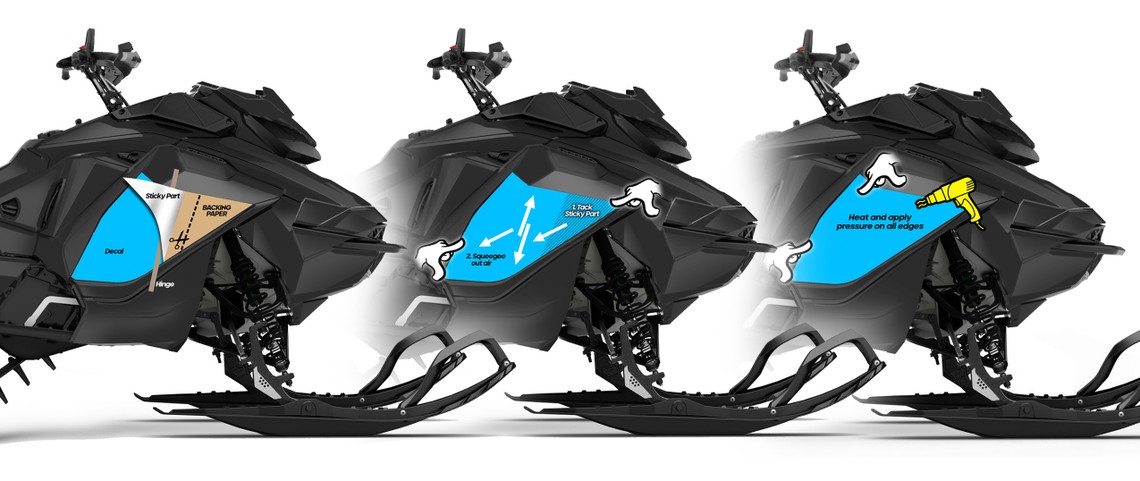
5. Peel and place your first piece, lightly adhere one corner and move the other end until satisfied with the position of the piece.
6. Use the Hinge technique (shown in images bellow) to tack down the piece. Then use your thumb and work up-down from the center out on each side to work the air out.
7. If you are 100% satisfied with the placement of the piece you can apply heat and pressure to really activate the adhesive. If you don`t like the placement it is okay to lift it and re attempt it again.
8. Repeat these steps and try to align the artwork the best you can from your last piece moving forward to the next piece.
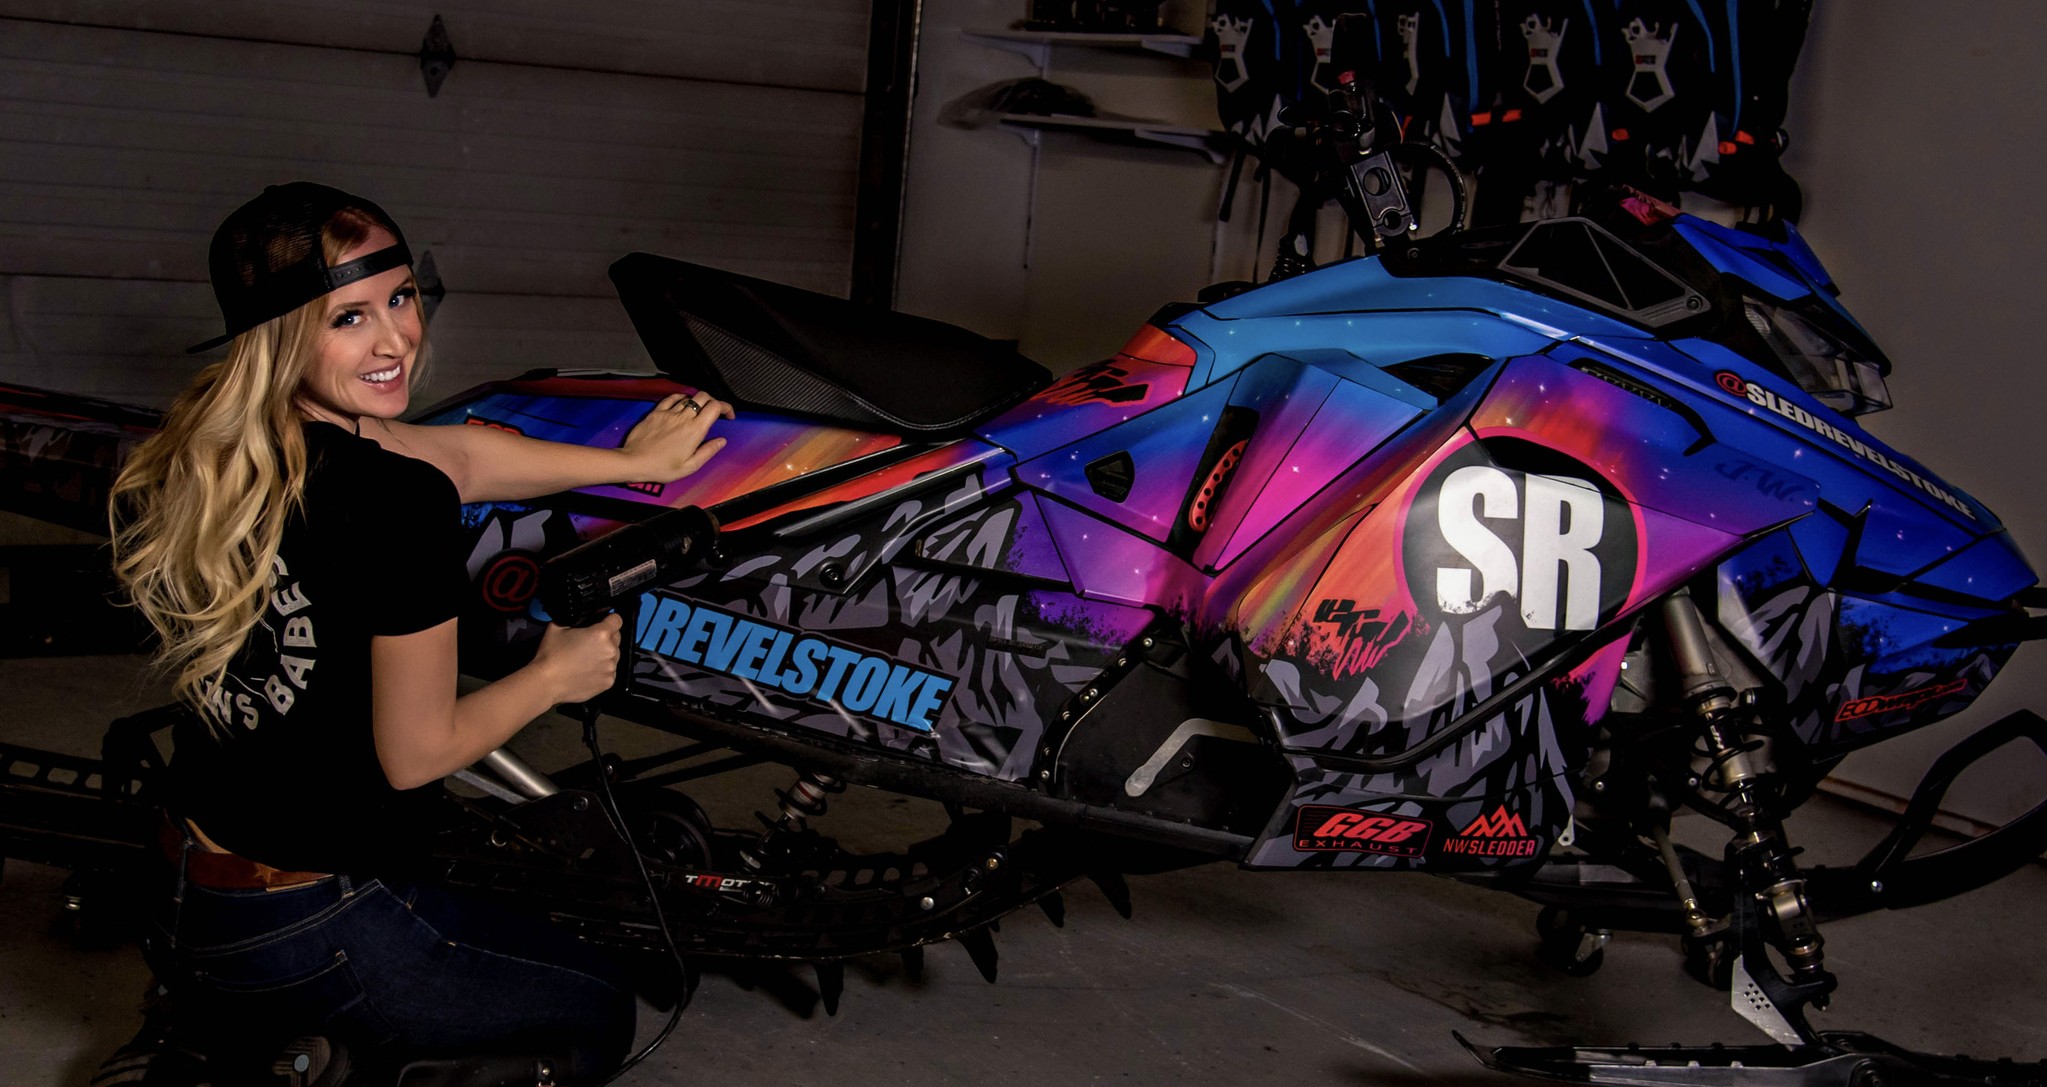
9. Once all your graphics are install you can go over the entire graphic with a heat gun or hair blower and push down all the edges to make sure everything is sealed down. We recommend to wait 10-24 hours and do this step again to make sure everything is staying down. Note: Use extra heat and pressure on all the textured plastics.
10. Trim any excess or overhanging edges of graphic off so there is no risk of them lifting in the future.
11. Let your new graphics sit inside for at least 10-24 hours for the adhesive to fully cure before you go out and ride.

ECDcustoms is not liable for improper installation of graphics, damage to them due to improper install, or damage due to everyday abrasions.
Our graphics are built with the highest quality materials and the decals hight-tac adhesive and heavy duty laminate will provide excellent adhesion, protection and longevity but that does not mean they are not indestructible.
REFUND POLICY
We do not issue refunds. We are a print-on-demand operation, you order it then we make it. Be sure to purchase desired graphics that are also intended for your year/make/model vehicle so that incorrect items are not purchased, as these are not acceptable reasons for a return!
Due to print pigment limitations, the discoloration of aging plastics and other variables, printed colors of decals may slightly vary from the color of your vehicle. Also wraps do not cover 100% of your plastics so try to keep the color of your sled in mind when selecting a wrap design.
Keep in mind each layout is shown on a render model and is not the exact chassis you might select so the design might slightly differ.
Please note that computer monitors, phone screens, tablet displays etc. can vary from device to device. Monitors and Screens also typically display color in RGB format which is different than how our wraps are printed. We do not guarantee that printed graphics will match the online depiction of color. For specific color matching, please contact us directly or leave detailed notes in the checkout when ordering online. All sales are final.
If you need replacement pieces no worries, just contact us by email at info@ecdcustoms.com with photos circling the pieces you need and we will get you a price.
-Keep in mind that over the years colors may not match due to material and equipment change.
-We can also offer a full kit re-print at a big discount.


POST YOUR WRAP ON SOCIAL MEDIA!


